
The Apple TV has evolved from a slow, hard-drive-based extension of your computer to a fairly capable media streamer. Although it doesn’t offer as many content choices as Roku’s set-top boxes, say, it gives you access to Netflix, Hulu Plus, major sports subscriptions, and more. On top of that, it’s the only media player on the market that lets you access your iTunes library and previous purchases from Apple, as well as stream content directly from a Mac or iOS device using Apple’s AirPlay technology.
If you have a second- or third-generation Apple TV in your home entertainment setup, here are several tips for getting the most from it.
1. Update your software
Apple has added many Apple TV features over the past year (including some of the ones discussed below) via software updates. Before you continue, make sure you’re running the latest version of the Apple TV software by navigating to Settings > General > Update Software and following the instructions. As of this writing, Apple TV Software Update 5.1 is the current version.
2. Move icons around
Thanks to expanded content options, the Apple TV now displays 20 icons on your TV screen from its main menu. Those extra icons make it harder to navigate around and select the item you want with the fewest clicks of the remote, however.
Thankfully, you now can rearrange the icons to better fit the way you use the Apple TV. To do so, use your Apple Remote to highlight an icon, then press and hold the round button until the icon begins to shimmy like a poodle-skirt-wearing teen on American Bandstand. (The effect will be like when you tap and hold an iOS app icon until it starts shaking, but on the Apple TV only that particular icon wiggles about.) You can then use the navigation controls on your remote to move the icon where you want it. Repeat for each icon you want to relocate.
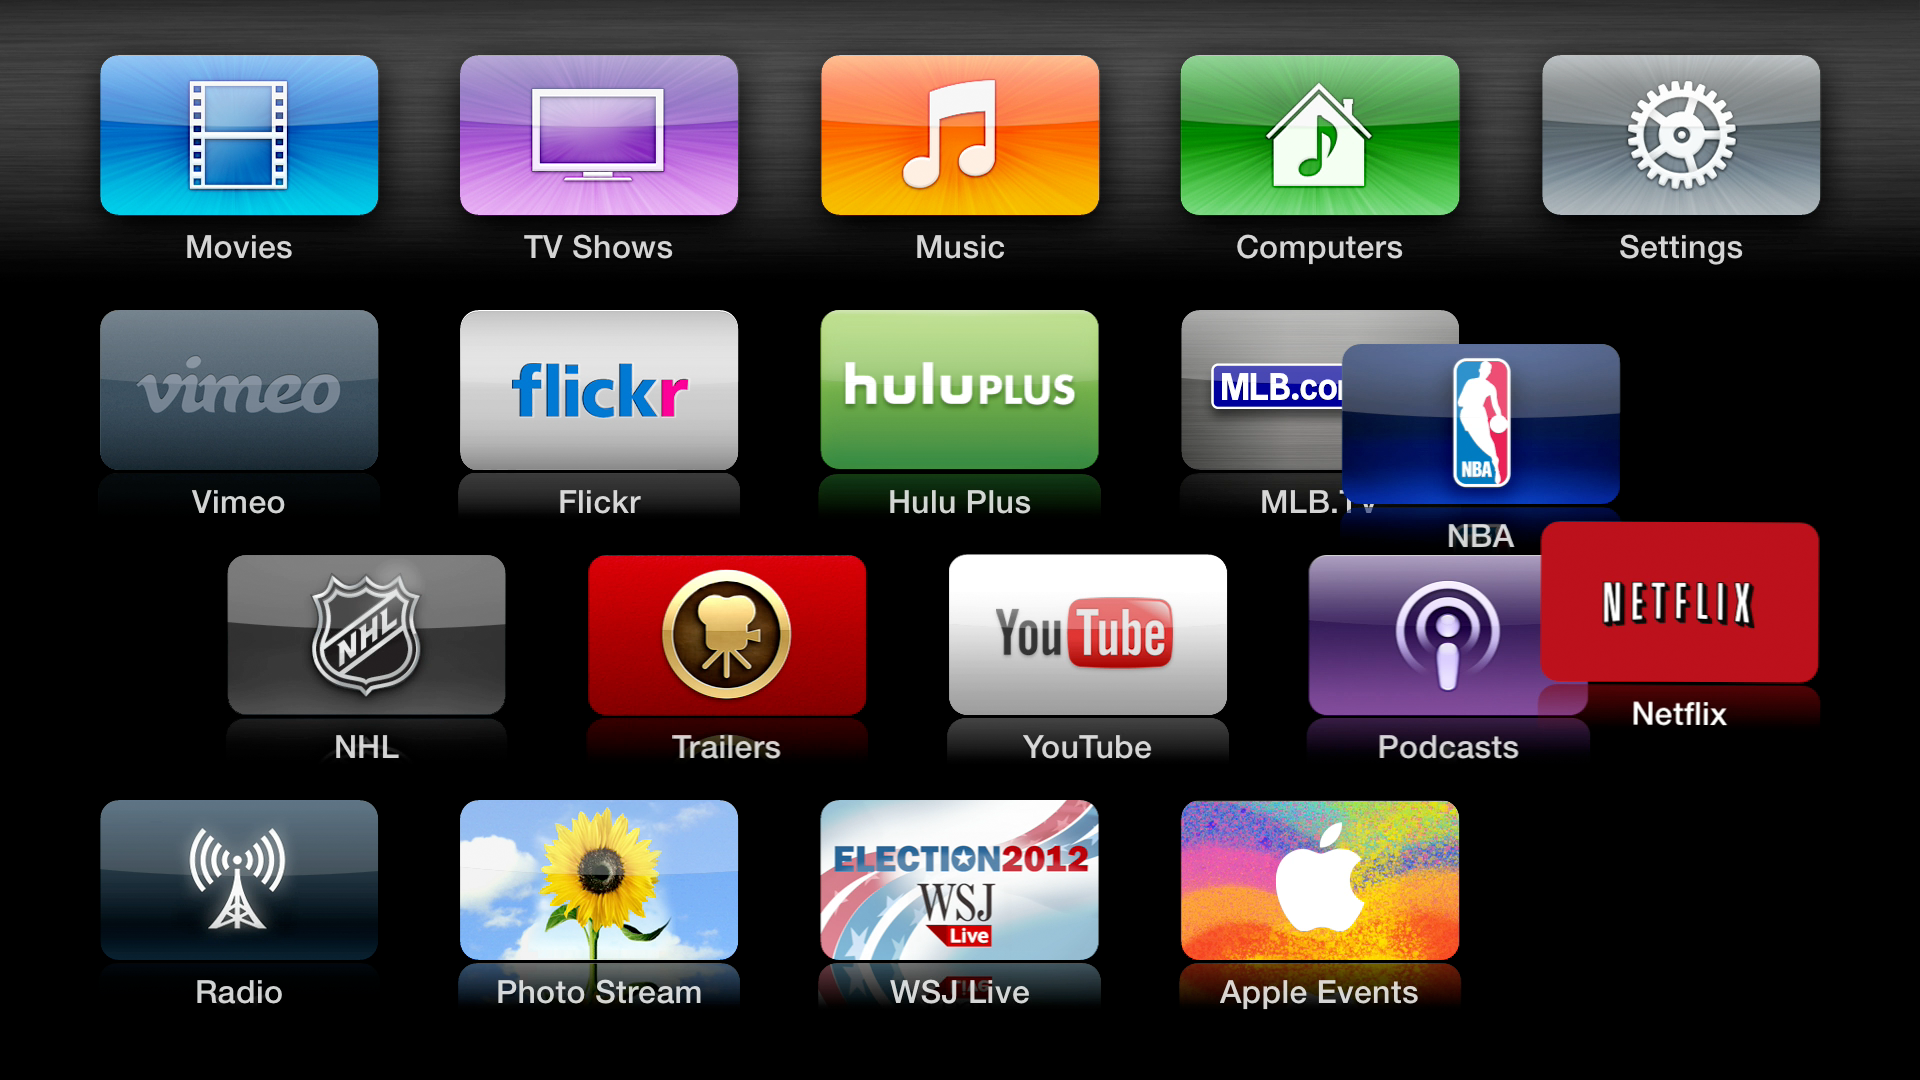
Do you watch a lot of Netflix and NBA games, and like looking at photos on Flickr? Move those icons up (and while you’re at it, group ones you don’t use much—Radio and Hulu Plus, say—at the bottom).
Keep in mind, however, that you can’t move or replace any of the icons in the first row. So you’re stuck with Movies, TV Shows, Music, Computers, and Settings (in that order) whether you want them there or not.
3. Sign up for (some) pay subscriptions directly
Apple has slowly but surely added the ability to access non-iTunes paid content on the Apple TV. You can now watch Netflix, Hulu Plus, and professional baseball (MLB), basketball (NBA), and hockey (NHL) if you subscribe to those services. It used to be that to sign up for any of those options, however, you had to do so on your computer and then enter your subscription information on the Apple TV.
Apple now offers on-device sign up for some of its Apple TV-enabled content partners, and you subscribe using your Apple ID (and therefore your iTunes-stored credit card).
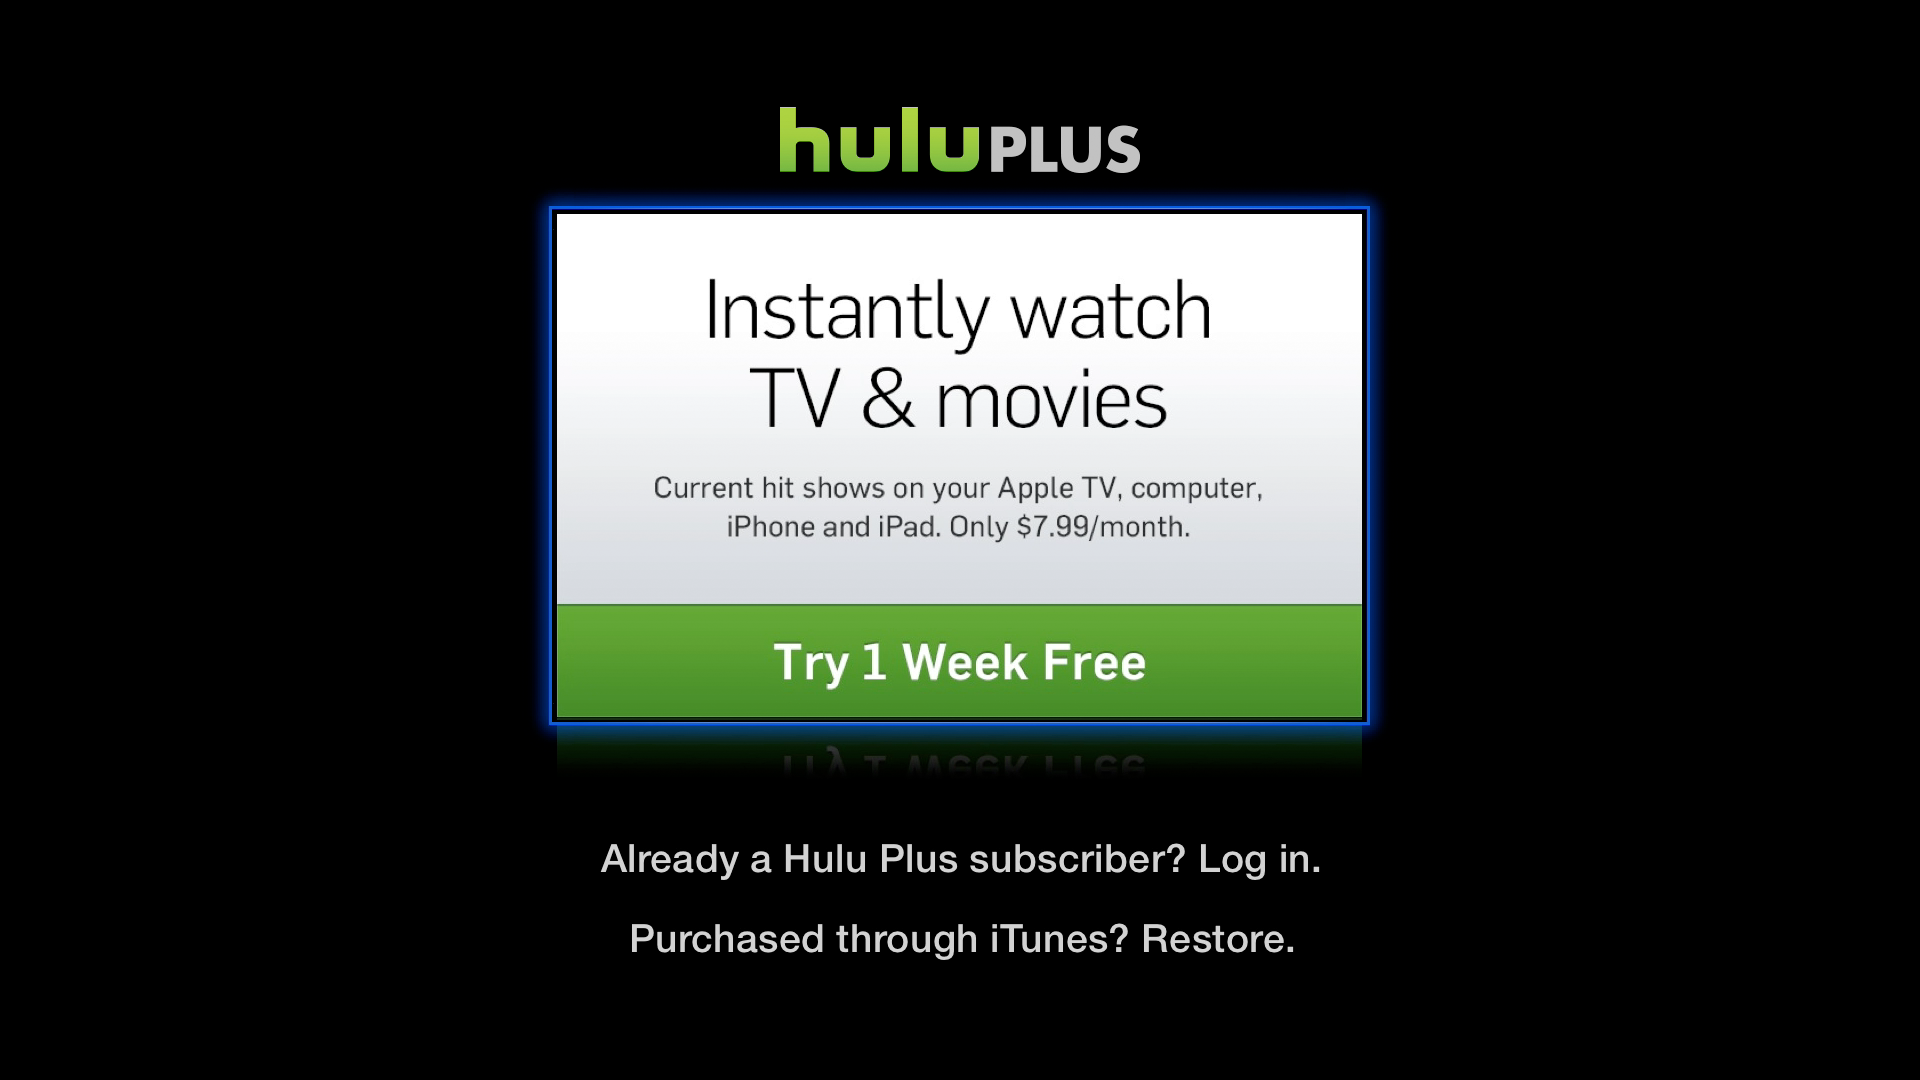
You can sign up directly via the Apple TV for Netflix and Hulu Plus—which each cost $8 a month—and those subscriptions carry over to your computers, mobile devices, and other supported home entertainment hardware. With Netflix, launch the app and select the option for the free one-month trial, after which you’ll be prompted to enter your iTunes Store password. Hulu Plus works the same way, but with a free week-long trial period instead.
With the sports subscriptions it works a little differently. Launch one and then go to itsSettings menu. There you’ll see a Sign In option that prompts you for your login ID for that service. If you want to sign up, however, you’ll need to go to the links provided near the top of screen for NBA, MLB, or NHL in a Web browser; the links take you to special landing pages targeted to Apple TV users. Prices vary depending on the sport, the subscription type, and the point during that sport's season when you sign up.
Vimeo, which offers both free and paid accounts for personal video hosting, similarly directs you to its website to sign up for an account if you don’t already have one.
If you already have an account with or subscription to any of the services accessible on the Apple TV, don’t fret—you can still log in to your various other accounts for easy access to content.
4. The Menu button is your friend
Once you’ve navigated several levels deep into the Settings app or drilled down into a Netflix search to find something to watch, you have a long way to go to get back to the Apple TV’s main menu. But no matter how far down the rabbit hole you’ve ventured, just click and hold the Menu button on your remote, and you’ll quickly move to the Apple TV's homepage.
5. Download the Apple Remote app
And speaking of navigation, if you have an iOS device that’s usually nearby when you’re enjoying content on your Apple TV, download the Apple Remote app for the iPhone, iPod touch, and iPad.
With the app, you can control navigation and playback on your Apple TV using your Wi-Fi network. And if you have a large iTunes library, the app is a far superior way to find specific content than scrolling through huge lists on your HDTV screen.

Best of all, anything that requires text entry—searching Netflix, entering passwords, and so on—is much easier to accomplish using your iOS device’s virtual keyboard than tediously selecting each character using your hardware remote and the onscreen keyboard you see on your TV.
The Remote app is by no means perfect—it can sometimes be flaky and unresponsive—but it’s incredibly useful at certain times, and well worth keeping on your iOS devices to use as needed.
6. See the highest-quality video you can
Although they run the same software, the big difference between the second- and third-generation Apple TV models is that the third-gen model supports 1080p video resolution versus 720p on the previous gen. In order to see the difference, however, you’ll need to make sure you’ve set up your Apple TV accordingly.

First, navigate to Settings and go Audio & Video. Scroll to the bottom of the list to the TV Resolution entry. If you see 'Auto' next to it, you should be in good shape. But just to make sure, select TV Resolution and, under the picture of an Apple TV, you’ll see what the current TV resolution is—'1080p HD - 60Hz', for example. If that looks right, you’re good to go.
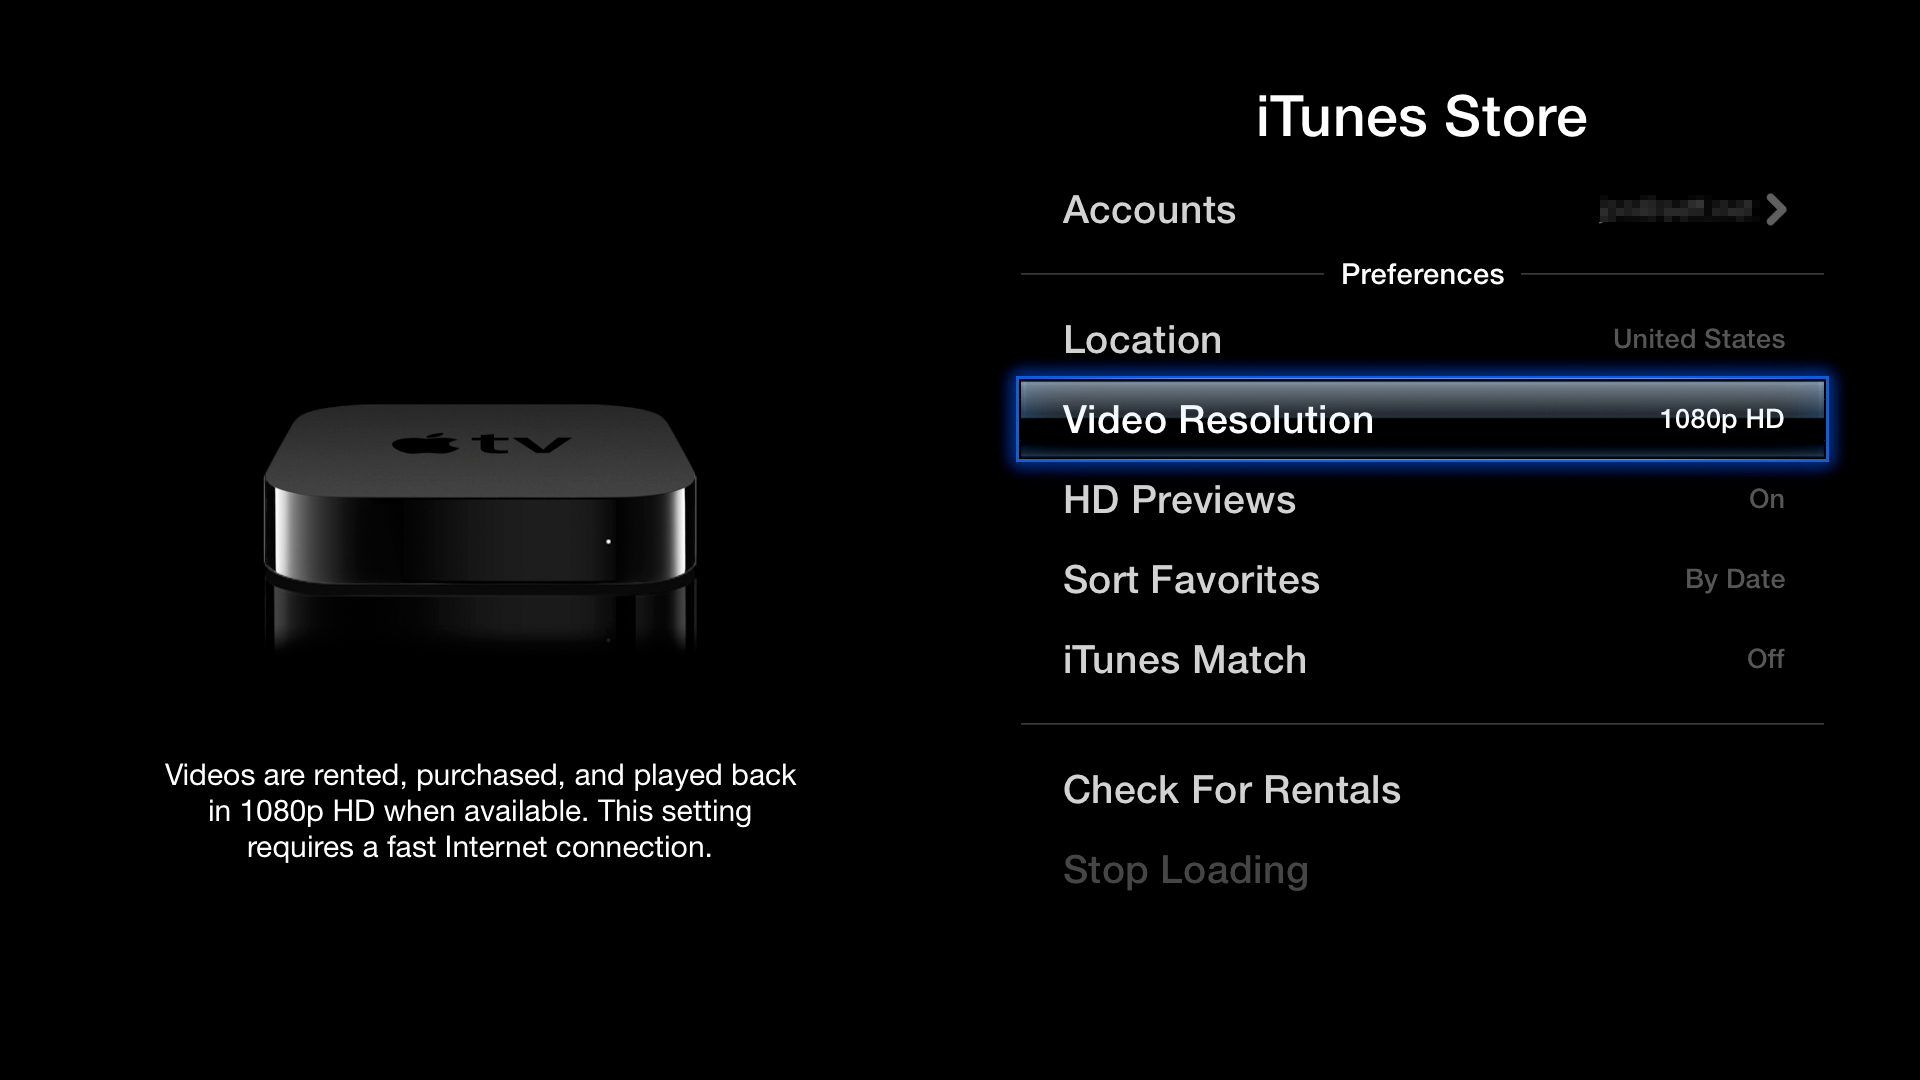
Second, go to Settings > iTunes Store and look in the Preferences section. Assuming you have a 1080p TV and sufficient bandwidth, Video Resolution should be set to 1080p HD, and HD Previews should be set to On.
Note that it does you no good to set the Apple TV to a resolution higher than your TV supports. For example, if your TV can produce only 720p video, don’t configure the Apple TV for 1080p. In some cases, TVs get confused with these conflicting resolutions and will simply refuse to display images from the Apple TV at all.
No comments:
Post a Comment